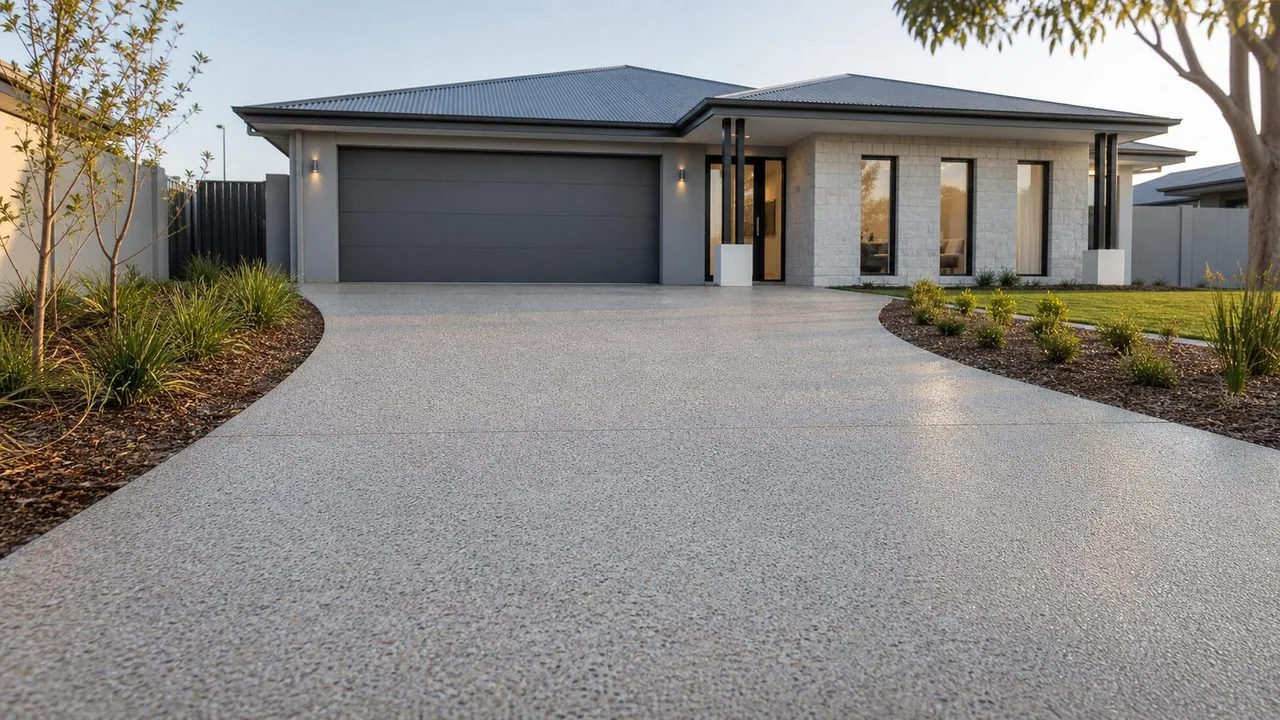
Discuss the panel layout while changes are still easy
A joint plan is a drawing of how the concrete area is divided and connected. It should be considered while the layout can still change, not left until the concrete truck arrives. Mark the full outline, including widening sections, steps, drains and columns. A simple rectangular sketch can conceal the corners and narrow strips that make the real paving more complicated.
Ask the contractor to explain each proposed line in ordinary language. Some details manage shrinkage cracking, some allow separation or movement, and others accommodate the way the concrete will be placed. The visible surface may look similar even when the underlying construction differs. Understanding the purpose prevents an attractive pattern being mistaken for a complete technical design.
For homeowners, the most useful contribution is accurate information about how the area will be used. Show where tyres turn, doors open, furniture sits and equipment will be anchored. The designer can then consider those uses alongside the pavement geometry. This guide is about preparing that conversation. It does not provide a universal spacing or cutting depth because those details depend on the concrete design, joint type and circumstances of the work.
Understand why concrete is divided into panels
Concrete changes as it hardens and dries, and it can also respond to temperature and other conditions. Jointing is one part of planning how a concrete surface accommodates those effects. CCAA's construction guidance treats control of cracking alongside reinforcement, finishing and curing. That is a useful reminder that a saw cut alone is not the whole strategy.
A joint intended to encourage cracking at a planned location has a different role from reinforcement within the concrete. Neither should be described as a promise that all random cracks will be eliminated. Ask how the proposed slab and joint details work together, and what limitations are relevant to the particular use. A plain explanation is more useful than an absolute no-crack claim.
The ground beneath the concrete also matters. A joint pattern cannot compensate for unsuitable support or an unresolved movement problem. If the site includes old trenches, fill or a connection to existing concrete, identify those conditions during planning. The right question is not simply how many cuts will be made, but how the whole pavement is intended to behave. That includes the support, edges and relationship to adjacent structures.
Distinguish a control line from a construction break
A contraction or control joint is commonly used to influence where shrinkage cracking occurs. A construction joint marks an interface associated with placing concrete in separate stages. Separation or isolation details have another purpose again. These descriptions help frame questions, but the project designer or contractor should identify the actual details proposed for your slab.
Do not assume a decorative groove has the same function as a designed joint. Its location, method and detail need to suit the intended purpose. If a decorative pattern is important, have it coordinated with the functional joint plan. Otherwise the finished surface may contain both the chosen pattern and additional necessary lines that were not shown in the visual example.
Likewise, do not assume a pour can stop at any convenient point if access or supply changes. Ask how construction breaks will be managed and whether there is a contingency location. The homeowner does not need to supervise concrete placement, but should know that the plan accounts for the work sequence. A contractor who can explain that sequence makes the quote easier to understand and the final layout less surprising.
| Purpose | Homeowner question | What not to assume |
|---|---|---|
| Manage shrinkage cracking | Where is the planned weakened line? | Any decorative groove performs this role |
| Separate from another element | What movement must this interface allow? | Rigidly connecting everything is better |
| Stop and restart a pour | Where is the construction break designed? | A convenient stopping point is adequate |
| Connect loaded pavement areas | How is load or movement handled? | A visible line tells you the hidden detail |
Pay attention to corners, drains and changing widths
A driveway is rarely a perfect rectangle. It may widen near the garage, narrow at a gate or wrap around a garden bed. Paths can turn around the house, and patios can include columns or drain boxes. These changes create places where the panel arrangement deserves deliberate consideration. Mark them clearly rather than allowing them to disappear beneath a broad shaded area on the plan.
Ask how joints relate to internal corners and openings. The answer should come from the proposed design, not from extending a decorative grid without regard to the shape. Where a drain sits within the paving, coordinate its level and perimeter detail with both drainage and joint planning. The drain frame should not be left as a late obstruction around which the finishing crew has to improvise.
Narrow additions beside existing concrete need particular discussion. A long strip may suit the available space visually, but its support, width and connection need assessment. Show where vehicle tyres will travel and whether the strip ends at a gate or changes level. It may be preferable to alter the boundary of the work so the new panels form a more coherent layout. Ask for that comparison before fixing the concrete quantity.
Coordinate joints with doors and equipment
Joint positions affect how the surface is used. A line across a pedestrian route may be acceptable in one location but awkward at a threshold or turning point. Wheeled equipment can respond differently to joint width, edge condition and changes in level. Explain whether the surface carries bins, mobility aids, trolleys or small workshop casters rather than describing every area as general access.
Anchored equipment needs another level of coordination. Hoist bases, machinery and shelving anchors should be checked against the proposed joint layout and the equipment requirements. Moving a joint or anchor on the day may affect the design. Give the relevant professionals the same updated drawing and ask them to resolve conflicts before construction.
At a garage entrance, the joint pattern also meets the water-management plan. A visually tidy line should not force a poor surface transition or interfere with the intended drainage route. Discuss doors, falls and joints together. For a Rockhampton property, the climate makes outdoor water exposure relevant, but the actual doorway and driveway levels determine the detail. A local address is not a substitute for measuring those relationships.
Agree on appearance, sealing and maintenance
Joints remain part of the finished appearance, so ask what the visible line will look like. Discuss width, edge finish and any proposed sealant using the actual system intended for the job. A sample photograph can help communicate preferences, but it cannot establish the suitability of the hidden detail. Keep visual choices connected to the construction requirements.
Not every joint receives the same treatment. Where a sealant or filler is proposed, ask what it is intended to do, which product is specified and what maintenance it needs. Compatibility with the concrete, movement and exposure matters. Avoid treating a hard filler as an automatic improvement to a joint intended to accommodate movement. The appropriate contractor should explain the chosen system.
Think about cleaning and landscaping too. Soil, leaf litter and roots can affect exposed lines beside garden beds. A maintainable edge and clear access make ongoing care easier. Keep records of the products used so later repairs do not rely on guessing from appearance. If a joint becomes damaged, the repair approach should consider its original function rather than simply filling the visible gap with whatever material is available.
Hypothetical example: a driveway meets a new workshop
A homeowner plans to extend a driveway into a new workshop apron. The first drawing continues the old driveway's decorative lines straight across the new area. When the workshop layout is added, one line runs through a proposed equipment base and another meets a drain at an awkward corner. The pattern looks orderly on its own but does not suit the combined use.
The contractor and designer revise the plan with the garage threshold, drain and equipment positions visible. They identify the old-to-new interface separately from the lines dividing the new panels. The homeowner chooses a deliberate visual boundary at the extension rather than expecting every old line to continue. This makes the change in concrete age easier to accept as part of the design.
The agreed drawing also shows how the pour sequence will be handled and which joints receive a specific treatment. The homeowner retains it with the equipment documents. If the workshop arrangement changes later, the installer has a record to consult. The useful result is coordination between uses and details, not simply a more attractive grid drawn over the same slab.
Questions to settle before the pour and at handover
Before construction, ask for the joint layout, purposes and work sequence to be explained. Confirm who decides the timing of any saw cutting and how that work is managed around the actual concrete and weather conditions. Do not delay a necessary operation to preserve an uninterrupted appearance for a photograph or gathering. The contractor needs to manage the method as part of the construction process.
Check that last-minute layout changes reach everyone affected. Moving a drain, column or doorway can alter the joint discussion even if the overall slab area stays the same. Record accepted changes rather than relying on separate verbal conversations with different trades. If the plan no longer matches the site, pause the decision and resolve the discrepancy before it becomes embedded in concrete.
At handover, keep a record of the finished joints and any specified products or maintenance instructions. Compare the visible layout with the agreed drawing and ask about differences. This is not an invitation to judge hidden performance from a photograph; it is a practical way to preserve the design intent. The brief below helps collect the layout information and questions that make the pre-pour discussion specific to your property.
